
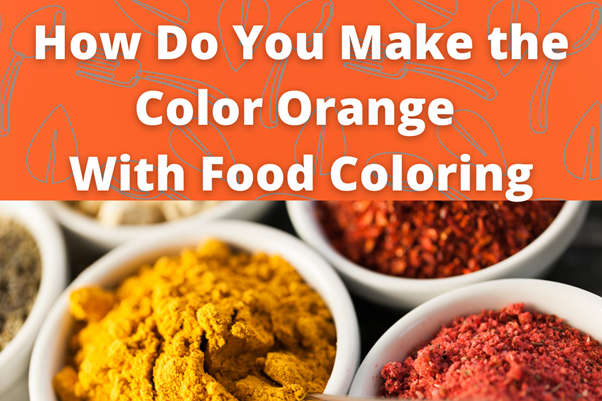
The Quick Answer
Making orange with food coloring is actually pretty straightforward: just mix red and yellow. Equal parts usually give you a nice balanced orange. Want it lighter? Add more yellow. Want a deeper, richer shade like burnt orange? Add more red.
Here’s a little trick most pros swear by: start with a yellow base and add red gradually. Red is much stronger than yellow, so it’s easy to overshoot if you dump both in at once. A little patience goes a long way here.
Why Orange Isn’t Always as Simple as It Sounds
Orange sits right between red and yellow on the color spectrum (around 585–620 nm). In theory, it’s just a secondary color you get by mixing the two primaries. But in real life—especially when you’re working with food dyes—things get a bit more interesting.
A lot of online tutorials stop at “mix red and yellow,” but anyone who’s actually tried it knows the results can vary wildly. That’s because food coloring behaves differently than paint. The strength of the pigment changes by brand, gel acts way more concentrated than liquid, and the fat in your buttercream can make the color look completely different than it does in fondant.
Understanding these little quirks helps you avoid muddy, dull, or disappointing oranges.
Core Concepts That Actually Matter
1. Primary vs Secondary Colors in Food In food coloring (which is a pigment system), orange appears when red and yellow pigments absorb certain wavelengths of light and reflect that beautiful orange back to your eye.
2. Why Some Oranges Turn Out Muddy If you just mix equal drops of red and yellow, you might not get that bright, vibrant orange you’re hoping for. Many red dyes have sneaky blue undertones that can dull the final color. The secret to a cleaner, brighter orange? Use warm reds and warm yellows that don’t have that blue bias.
3. Red Is the Boss Red pigment is almost always stronger than yellow. That means even a tiny bit can quickly take over the mixture. This is exactly why starting with yellow and adding red little by little works so much better.
Step-by-Step: How Pros Actually Do It
- Start by adding your yellow coloring to the base (icing, batter, or fondant).
- Mix thoroughly until the color is even.
- Add red dye a little at a time—use a toothpick or dropper for better control.
- Mix completely and check the color before adding more.
- Adjust as needed: more yellow for lighter shades, more red for deeper ones.
Handy Ratio Guide
| Shade Target | Red | Yellow | Result |
|---|---|---|---|
| Pastel orange | 1 | 3 | Soft peach tones |
| Standard orange | 1 | 1 | Balanced orange |
| Deep orange | 2 | 1 | Pumpkin tone |
| Burnt orange | 3 | 1 | Earthy tone |
Many bakers find that 12 drops yellow + 2 drops red gives a really nice bright orange when using gel colors.
Synthetic vs Natural Orange Coloring
Artificial dyes usually give you the brightest, most vivid results. But natural options have their own appeal.
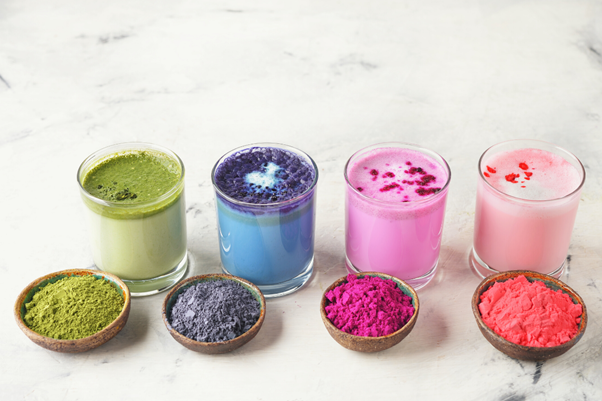
Natural orange color comes from carotenoid-rich ingredients like:
- Carrot juice
- Paprika powder
- Pumpkin puree
The trade-off? Synthetic dyes deliver intense color and great flavor neutrality, while natural ones bring better ingredient transparency—but they can affect taste and often need larger amounts to reach the same shade. Natural pigments also tend to be more stable in heat, which is great for baking.
How Your Choice Affects the Bigger Picture
Switching between synthetic and natural colors doesn’t just change the shade—it can affect how consistent your product looks on the shelf. Natural carotenoids oxidize faster than synthetic dyes, so color can fade quicker. That’s why manufacturers sometimes adjust packaging (like using UV-blocking materials) or add extra antioxidants.
Decision-Making Table
| Decision Factor | Equal Ratio Method | Yellow-Base Method | Natural Pigment Method |
|---|---|---|---|
| Speed | Fast | Moderate | Slow |
| Color control | Medium | High | Variable |
| Reproducibility | Moderate | High | Low |
| Ingredient transparency | Low | Low | High |
| Flavor neutrality | High | High | Medium |
| Regulatory complexity | Low | Low | Medium |
| Scalability | High | High | Moderate |
The yellow-base method usually wins for repeatability because you can fine-tune as you go and compensate for differences between brands and batches.
Practical Tips from the Kitchen
- Want a soft pastel orange? Add some white icing.
- For a terracotta feel, add a touch of brown.
- Coral orange? A little pink does the trick.
Buttercream and fondant behave differently too—fat globules in buttercream scatter light, so the color often looks lighter once mixed. And don’t forget about lighting: warm indoor lights tend to make orange look richer and more intense.
A note from experience: Even when you know the theory, it’s easy to overshoot because red doesn’t always disperse evenly in fatty mixtures. Always do a small test batch before coloring a big one.
Things to Watch Out For
- Overmixing can add air bubbles that make the color look lighter than it really is.
- Natural dyes fade faster when exposed to UV light.
- Some synthetic dyes are restricted in certain countries.
- High-acidity environments can nudge your orange slightly toward yellow.
FAQ
What colors make orange food coloring? Red and yellow mixed together create orange in pigment-based systems.
How much red and yellow do I need? Start with equal parts and adjust based on the shade you want.
Why does my orange look brown? Your red dye probably has blue undertones that are dulling the vibrancy.
Can I make orange naturally? Yes! Carrot juice, paprika, and pumpkin puree all give natural orange color.
Does gel food coloring work better? Gel dyes are more concentrated, so you get stronger color with fewer drops.
Why does icing color darken overnight? The pigments keep hydrating over time, which deepens the saturation.
Can I fix an orange that’s too red? Yes—just add small amounts of yellow gradually until it balances out.
Final Thoughts
At first glance, making orange with food coloring seems like the simplest thing in the world. But once you understand pigment strength, color bias, concentration differences, and how ingredients interact, you realize there’s real science (and a bit of art) behind it.
The most reliable approach? Start with yellow, add red slowly, and test as you go. When you pay attention to these details, you move from guessing to confidently creating exactly the shade you want—batch after batch.
Happy mixing!